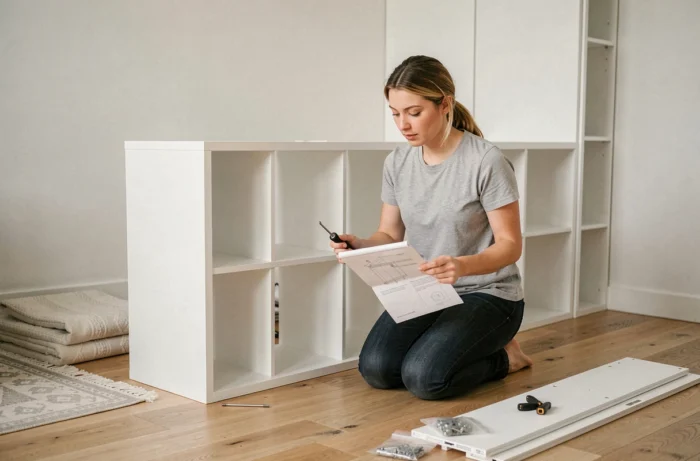
A dressing kit can be assembled in a few hours as long as you don’t improvise the sequence. Most failures come not from the assembly itself, but from an unverified level or an unsuitable wall mounting. Here are the technical points that make the difference between a stable piece of furniture and a dressing that twists after six months.
Wall mounting and type of partition: the point that manuals overlook
A dressing kit delivered with brackets or anti-tip straps assumes that you first identify the nature of your wall. The mounting depends on the support, not the furniture. On concrete or solid brick, a standard expansion plug is sufficient. On a drywall partition, you need to aim for a metal stud or use plugs suitable for hollow walls.
Do not confuse anti-tip with load-bearing mounting. An anti-tip strap or bracket holds a piece of furniture placed on the floor to prevent it from tipping forward. It does not support the weight of a wall-mounted unit. If your kit includes tall elements fixed to the wall, a suspension rail sized for the load must be anchored in a load-bearing support.
We recommend testing the anchoring strength before loading the furniture: a firm pull by hand on the installed plug immediately reveals a support that is too brittle. If you have purchased a second-hand dressing, check that the mounting hardware is complete and consult the RappelConso database to ensure that the product has not been recalled.
For those considering assembling a Brico Dépôt dressing kit, the logic remains the same: the manual indicates the type of mounting provided, but it is up to you to adapt the plugs to your partition.
Preparing the floor and leveling before assembling the dressing kit
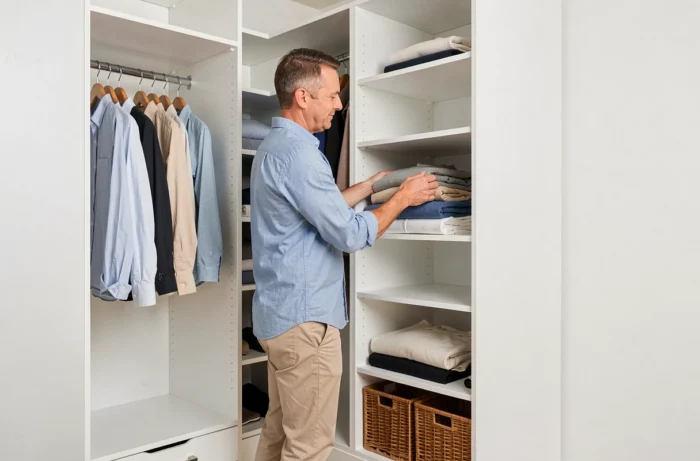
An unlevel floor skews the entire assembly. On old parquet or uneven tiles, a gap of a few millimeters between the two sides of the unit is enough to prevent the drawers from sliding properly and to create a visible gap between the doors.
Before opening the first box, place a spirit level on the floor, at the exact location of the dressing, across the entire planned width. If the gap exceeds two millimeters per meter, shim the feet of the furniture with adjustment shims (provided in some kits, otherwise available at hardware stores). Never shim with folded cardboard: it crushes under load in a few weeks.
Remove the baseboards where the dressing will be backed against the wall. This allows the furniture to be flush against the wall and avoids an unsightly gap at the bottom. Also locate electrical outlets and cable entries to avoid drilling in the wrong place during wall mounting.
Assembly sequence of the furniture: units, shelves, drawers
The assembly order is not trivial. First, assemble the units flat on the floor before standing them up. Assembling a unit vertically directly requires holding the panels with one hand while screwing with the other, which results in crooked assemblies.
Assembling the units on the floor
Place the back panel face down on the floor. Attach the side panels and then the top. Tighten the confirmation screws in a cross pattern, not in a linear order: this distributes the pressure and prevents warping of the panel. Check the squareness by measuring the two diagonals of the unit. If they are equal (within one millimeter), the unit is square.
Installing shelves and wardrobe rods
The adjustable shelves fit onto brackets or metal rails. Before positioning them, think about the distribution of your clothes:
- The high wardrobe rod accommodates coats and long dresses, with at least 120 centimeters of free space below the bar
- A double wardrobe (two stacked rods) is suitable for shirts and short jackets, each space requiring about 90 centimeters of height
- The shelves for folded laundry work best with regular spacing, sufficient to stack without crushing
Installing drawers and slides
Full-extension slides provide complete access to the contents of the drawer. They cost a bit more than partial slides, but they radically change daily use. First, screw the fixed rail onto the side of the unit, then the movable rail onto the drawer, following the direction indicated by the arrows engraved on the slide.
Test each drawer empty before loading. A drawer that sticks or tilts indicates a misalignment of a few millimeters between the two rails. Loosen, realign, and re-screw.
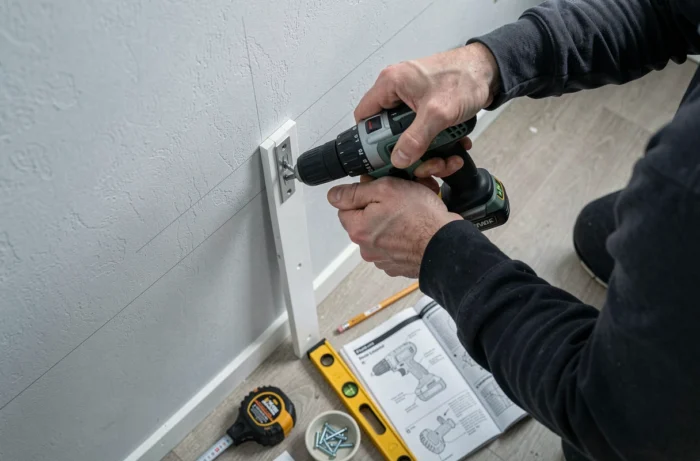
Adjusting sliding doors and finishing the dressing
Sliding doors are often the last element mounted and the first source of frustration. The top rail is fixed to the ceiling of the unit or to the upper panel. The bottom rail is placed on the floor. A dirty bottom rail blocks the rollers in a few months, so plan for regular cleaning.
Each door has adjustment screws at the bottom (height) and sometimes at the top (tilt). First adjust the height so that the door does not rub on the floor, then the tilt to eliminate the gap between the two panels. This adjustment is done with the doors in place, using a Phillips screwdriver.
- If the door tilts forward, tighten the upper adjustment screw on the wall side
- If it rubs at the bottom, raise it using the adjustment screw of the lower roller
- If the two doors overlap poorly in the center, shift laterally using the end stops
A move or a change in the location of the dressing requires completely redoing the wall mounting. The initial anchoring no longer protects the furniture once it is moved, even to the neighboring room. Check the new support and adapt the plugs accordingly.
Assembling a dressing kit remains accessible as long as you follow this sequence: wall diagnosis, leveling the floor, flat assembly, mounting, and then door adjustment. Each step conditions the next, and shortcuts always pay off in the durability of the furniture.